Proven Techniques for Effective Water Damage Restoration: An Expert’s Guide
By Nikolay Zubyan, IICRC Master Restorer and Founder of Shield Public Adjusters
After decades in the water damage restoration industry, I’ve seen every type of water emergency imaginable—from burst pipes in million-dollar homes to catastrophic flooding that devastates entire communities. As an IICRC Master Restorer and founder of Shield Public Adjusters, I’ve learned that successful restoration isn’t just about removing water; it’s about understanding the science behind moisture behavior, the intricacies of building materials, and most importantly, how to navigate the insurance maze that follows every claim.
Water damage is more than an inconvenience—it’s a race against time where every decision impacts both your property’s future and your financial recovery. This comprehensive guide shares the battle-tested techniques I’ve developed through thousands of restoration projects, combined with insider knowledge about maximizing your insurance claim.
The Critical First Hour: Emergency Response Protocol
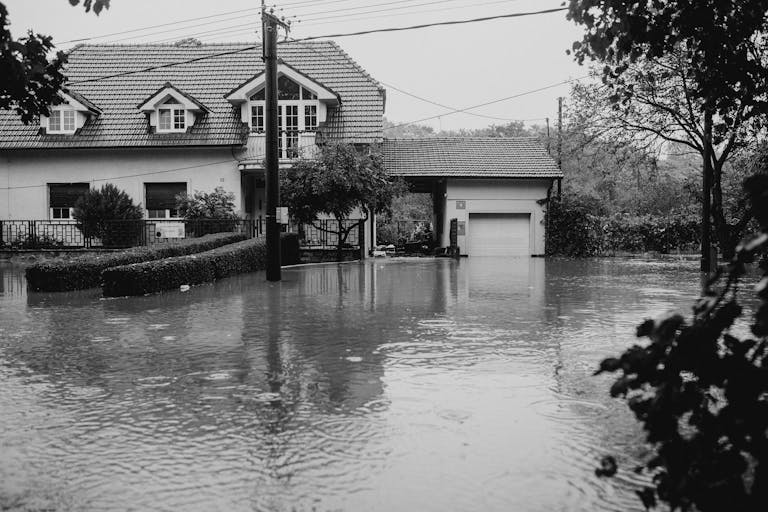
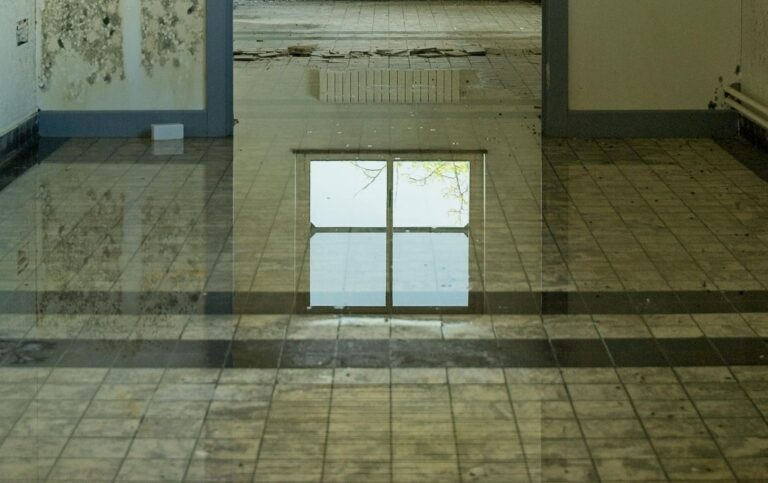
When water strikes, the first hour determines whether you’re looking at a manageable restoration or a complete reconstruction nightmare. I’ve responded to calls where homeowners lost an additional $50,000 in damages simply because they waited overnight to call for help.
Immediate Safety Assessment
Before touching anything, assess the electrical hazards. Water and electricity create lethal combinations, and I’ve seen too many close calls. Shut off power to affected areas at the breaker box—never attempt to unplug anything from a wet outlet. If you’re unsure about electrical safety, evacuate and wait for professionals.
Document everything immediately with your phone camera. Take photos of the water source, standing water levels, and all affected areas. This documentation becomes crucial evidence for your insurance claim. I tell my clients to photograph the same areas from multiple angles—what seems obvious to you may not be clear to an insurance adjuster reviewing photos weeks later.
Source Identification and Stoppage
Identifying the water source isn’t always straightforward. I’ve encountered situations where homeowners assumed they had a simple pipe leak, only to discover complex foundation issues or multiple failure points. Common sources include:
Supply line failures typically create clean water flooding with consistent flow rates. These are often covered under sudden and accidental provisions of insurance policies, making them generally favorable for claims.
Drainage backups present contamination concerns and potential coverage limitations. Many standard homeowner policies exclude sewer backup unless specifically endorsed.
Appliance failures vary widely in coverage depending on the age of the appliance and maintenance history. Insurance companies scrutinize these claims for negligence indicators.
Weather-related intrusion often involves coverage complexities between wind-driven rain (typically covered) and flood (requiring separate flood insurance).
Professional Assessment: Beyond the Obvious
My assessment process goes far deeper than what most homeowners—and unfortunately, some restoration companies—consider adequate. A proper evaluation determines not just the scope of work, but also the claim strategy that maximizes your insurance recovery.
Advanced Moisture Detection
Standard moisture meters only tell part of the story. I use thermal imaging cameras to identify temperature variations that reveal moisture patterns invisible to the naked eye. These cameras detect:
● Moisture behind walls without destructive testing
● Insulation saturation that affects R-values and may require replacement ● Structural moisture in framing members that could compromise integrity ● HVAC system involvement that might spread contamination throughout the building
Categorization for Insurance Purposes
Water damage categorization directly impacts your insurance coverage and the restoration approach required:
Category 1 (Clean Water) originates from sanitary sources like supply lines or rain water (before ground contact). While initially clean, Category 1 water becomes Category 2 after 48-72 hours due to bacterial growth and material degradation.
Category 2 (Gray Water) contains significant contamination that may cause illness if ingested. Sources include washing machine discharge, dishwasher leaks, or toilet overflow without solid waste. Gray water requires antimicrobial treatment and protective equipment during handling.
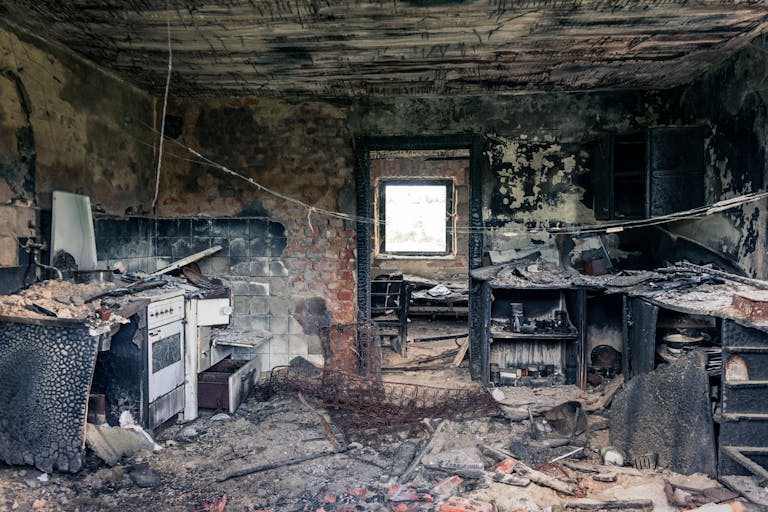
Category 3 (Black Water) poses severe health risks and requires extensive safety protocols. Sources include sewage, river flooding, or any water that has contacted unsanitary surfaces. Black water restoration often involves complete material replacement rather than cleaning.
Understanding these categories is crucial because insurance companies may dispute coverage based on contamination levels or the time elapsed before professional intervention.
Strategic Water Extraction: Equipment and Techniques
Effective water extraction requires more than powerful pumps—it demands understanding how different materials absorb and release moisture, and how extraction methods affect insurance claim valuations.
Extraction Equipment Selection
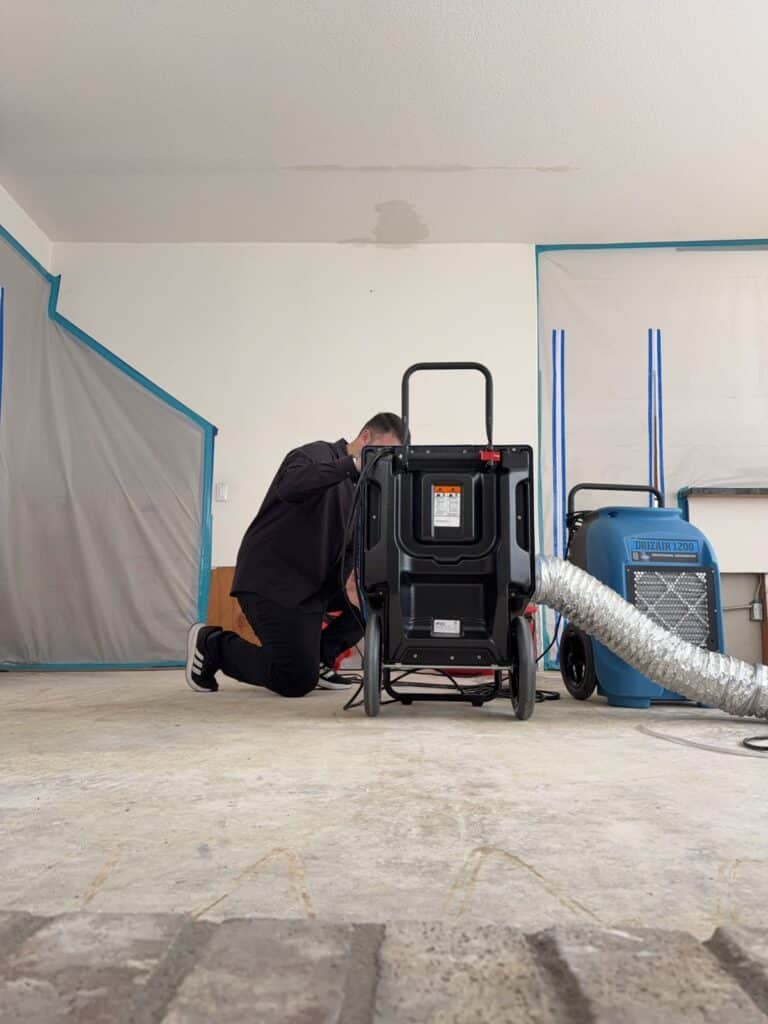
Truck-mounted extraction units provide superior performance for large-scale water removal. These units generate powerful suction—typically 400-500 CFM at the tool—allowing rapid extraction from carpets, pad, and subflooring. The heat exchange systems in truck-mounted units also provide heated water injection, which increases extraction efficiency in synthetic carpets.
Portable extractors become necessary for upper floors, tight spaces, or when truck access is limited. While less powerful than truck-mounted units, modern portables still achieve effective extraction when used properly. I prefer units with dual 3-stage motors for maximum performance.
Submersible pumps handle situations with significant standing water—typically anything over two inches deep. The key is matching pump capacity to the volume of water while considering disposal logistics. I’ve seen restoration companies create additional damage by pumping too aggressively and causing structural suction issues.
Extraction Methodology
The extraction pattern matters more than most realize. I use overlapping passes with progressively slower tool movements, allowing maximum dwell time for water extraction. Fast passes might look productive, but they leave significant moisture that extends drying time and increases costs.
For carpeted areas, I extract in multiple directions—first with the grain, then against it, then diagonally. This technique addresses how carpet fibers lay and ensures maximum water removal from both the face fiber and backing materials.
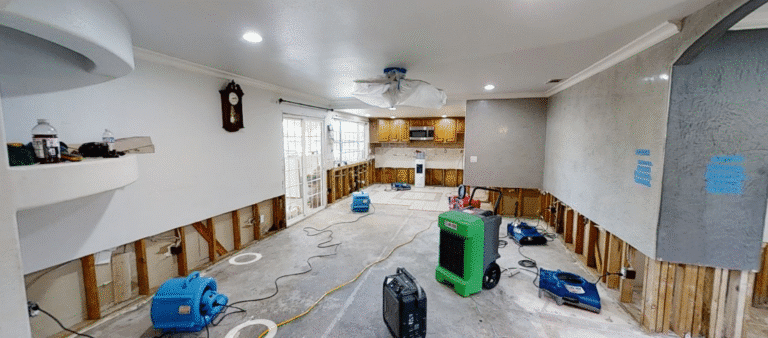
Structural Drying: The Science Behind Success
Drying isn’t about pointing fans at wet materials—it’s about creating controlled environmental conditions that promote evaporation while preventing secondary damage. My approach considers psychrometric principles, material science, and energy efficiency.
Creating the Optimal Drying Environment
Successful drying requires managing four variables: temperature, humidity, air movement, and time. These elements work together following the principles of vapor pressure differentials.
Temperature control increases the vapor pressure of water, accelerating evaporation. However, excessive heat can damage materials. I maintain temperatures between 70-80°F for most materials, increasing to 85°F for concrete and masonry when appropriate.
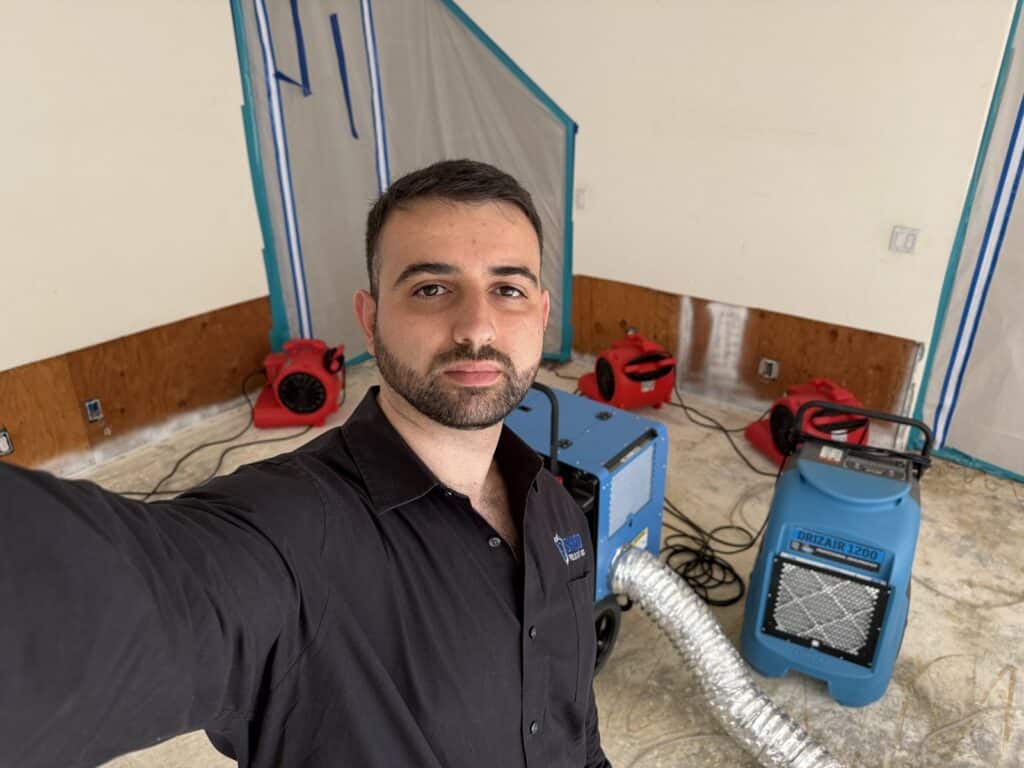
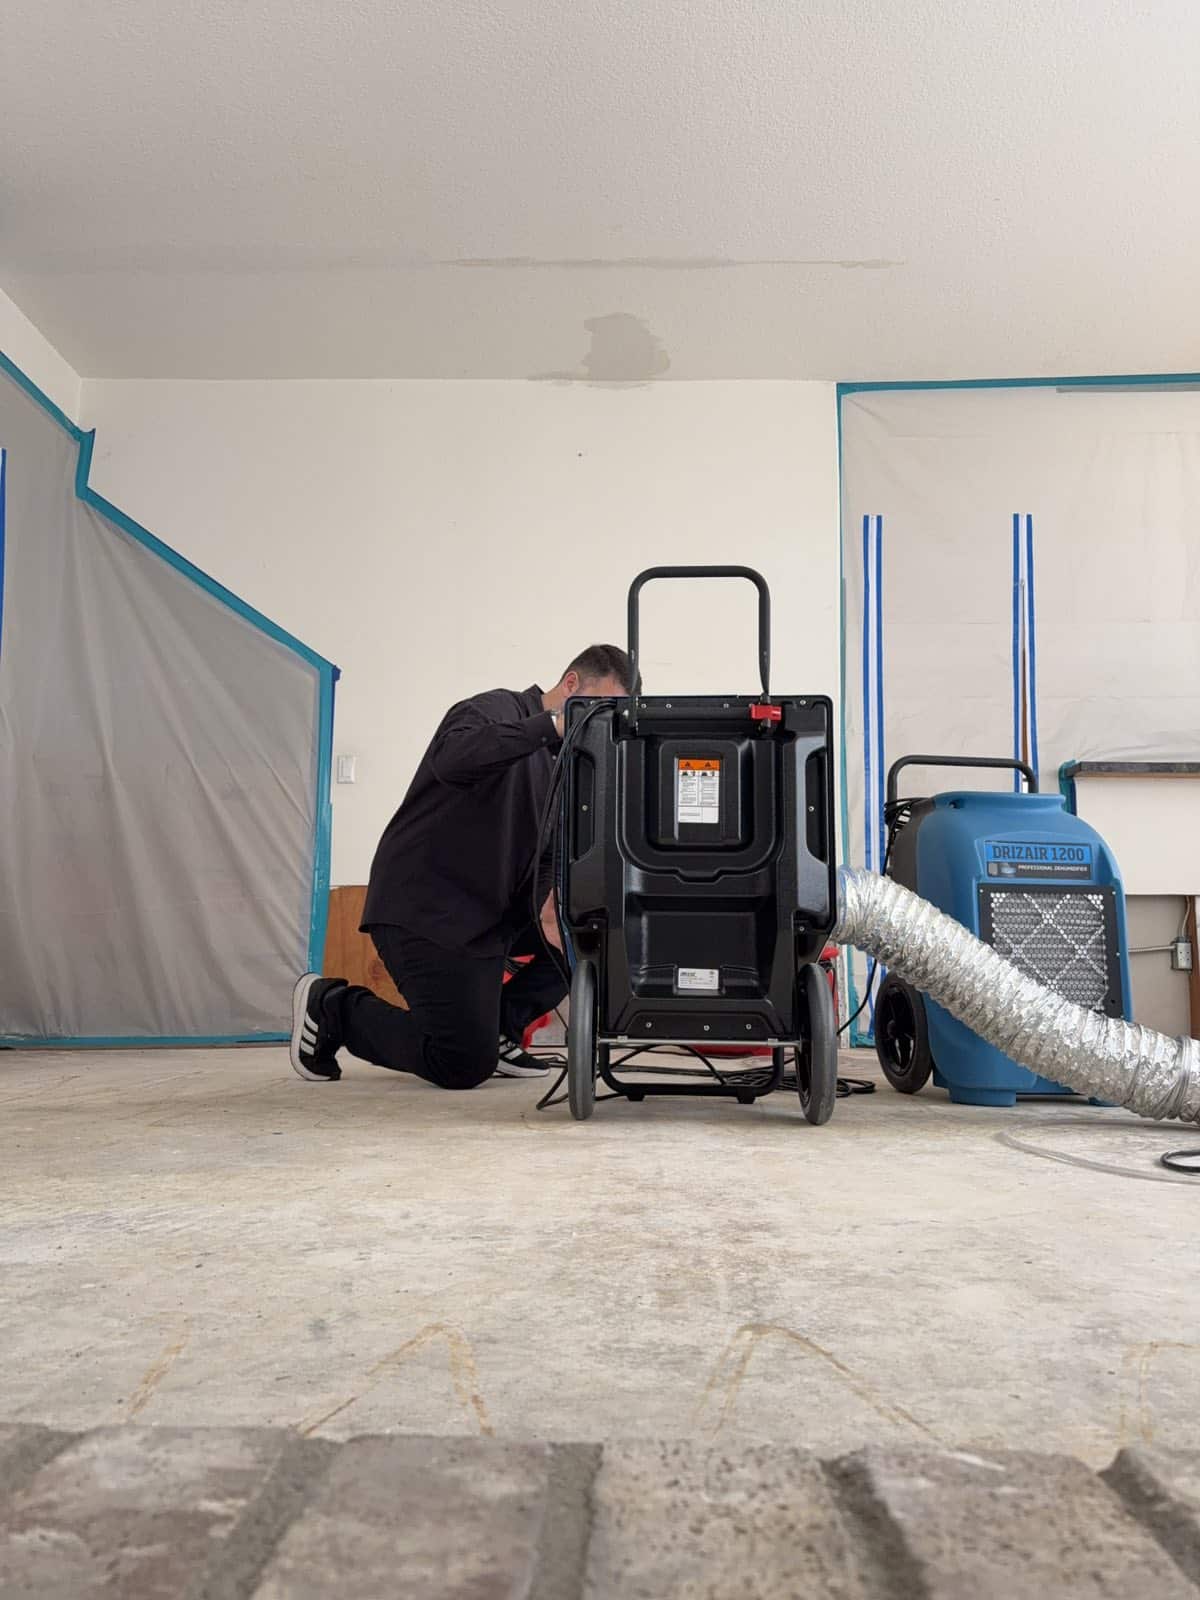
Relative humidity management ensures that moisture-laden air is continuously removed. I target 30-50% RH in the affected environment, using refrigerant dehumidifiers for normal conditions and desiccant units for extreme humidity or low temperature situations.
Air movement creates convection currents that enhance evaporation by removing the boundary layer of humid air around wet surfaces. Strategic placement of air movers creates circulation patterns that maximize efficiency while minimizing energy consumption.
Equipment Placement Strategy
My equipment placement follows specific patterns based on building configuration, materials affected, and airflow dynamics:
Air movers are positioned to create cyclonic airflow patterns throughout the affected area. I place units at 45-degree angles to walls, ensuring at least 30 inches between units to prevent turbulence. For hardwood floors, I use specialty floor drying systems that create focused airflow across the surface while drawing moisture from between boards.
Dehumidifier placement considers both air intake and discharge patterns. Units should have adequate clearance—at least 18 inches on intake and 6 feet on discharge—to prevent short cycling. I calculate dehumidification requirements based on the affected area’s cubic footage, materials involved, and outdoor conditions.
Monitoring equipment includes continuous data loggers that track temperature, humidity, and moisture content throughout the drying process. This data serves dual purposes: ensuring effective drying and providing documentation for insurance claims.
Advanced Drying Techniques for Specific Materials
Different materials require specialized approaches that consider their unique properties and insurance claim implications.
Hardwood Floor Restoration
Hardwood floors present unique challenges because insurance companies often question whether restoration or replacement provides better value. My approach focuses on demonstrating restoration viability through controlled drying techniques.
Moisture assessment involves both surface readings and deep probe measurements to understand moisture penetration. I document moisture gradients that show how deeply water has penetrated and track moisture removal rates throughout the process.
Controlled drying prevents the rapid moisture loss that causes cupping, crowning, and splitting. I use specialty drying mats that create focused airflow while maintaining controlled conditions. The goal is gradual moisture removal that allows wood fibers to return to original dimensions.
Documentation includes daily moisture readings, photographic progress records, and detailed logs showing successful moisture removal. This documentation supports the restoration approach when insurance adjusters question replacement versus refinishing costs.
Drywall and Insulation Systems
Drywall assemblies require careful evaluation because replacement decisions significantly impact claim costs and project timelines.
Moisture penetration assessment determines whether drywall can be successfully dried or requires replacement. Paper-faced drywall absorbs water quickly, potentially compromising structural integrity and creating conditions for microbial growth.
Insulation evaluation considers not just moisture content, but also compression and contamination issues. Wet insulation rarely returns to original R-values, and insurance companies increasingly recognize the need for replacement rather than drying attempts.
Wall cavity drying may be possible with specialty equipment when demolition isn’t required. Injecti-dry systems can force air circulation within closed wall assemblies, potentially saving significant costs in areas with minimal wetting.
Contamination Control and Indoor Air Quality
Contamination control protects both occupants and workers while preventing cross-contamination that could expand the claim scope.
Containment Strategies
Physical containment uses plastic sheeting and tape to isolate affected areas from clean spaces. I create airlock entry systems for Category 2 and 3 water situations, preventing contaminant tracking throughout the building.
Pressure differentials control airborne contaminant migration. Negative air machines create directed airflow from clean to contaminated areas, preventing moisture and particulates from spreading to unaffected portions of the building.
HEPA filtration removes airborne particles and biological contaminants. I use HEPA filter units with variable speed controls, allowing adjustment based on air volume and contamination levels.
Personal Protection and Safety
Worker safety directly impacts project efficiency and claim costs. Inadequate protection leads to work interruptions, potential liability issues, and regulatory compliance problems.
Personal protective equipment varies based on water categories and discovered contamination levels. Category 1 water requires basic protection, while Category 3 situations demand full protective suits, respirators, and eye protection.
Health monitoring includes air quality testing before, during, and after restoration activities. This testing provides objective documentation of successful remediation and protects against future liability claims.
Insurance Claim Strategy: Maximizing Recovery
As a public adjuster, I’ve learned that technical expertise means nothing if you can’t communicate effectively with insurance representatives and document the necessity for your restoration approach.
Documentation Requirements
Initial damage assessment must clearly establish the cause, extent, and category of water damage. Insurance adjusters need to understand not just what happened, but why specific restoration techniques are necessary for your situation.
Daily progress reports document the restoration process and justify equipment rental periods. Insurance companies increasingly scrutinize equipment usage, requiring detailed explanations for restoration timelines.
Before and after photography provides visual evidence of both damage extent and restoration success. I photograph from consistent positions throughout the project, creating visual narratives that support the claim narrative.
Communication with Insurance Professionals
Technical language must be balanced with clear explanations that non-technical adjusters can understand. I explain the necessity of specific equipment and techniques in terms of preventing additional damage and costs.
Cost justification requires demonstrating that restoration approaches provide better value than replacement alternatives. This often involves comparative analysis of restoration costs versus replacement costs, including betterment considerations.
Timeline explanations help adjusters understand why restoration projects require specific durations. Weather conditions, material availability, and drying science all impact project timelines that affect claim costs.
Preventing Secondary Damage and Future Issues
Secondary damage prevention protects your investment and prevents future claims that could impact your insurability.
Mold Prevention Strategies
Mold growth begins within 24-48 hours under favorable conditions, making prevention far more cost-effective than remediation.
Environmental controls maintain conditions that prevent mold colonization throughout the restoration process. This requires continuous monitoring and adjustment of temperature, humidity, and air circulation.
Antimicrobial applications may be appropriate for Category 2 and 3 water situations, or when conditions have been favorable for microbial growth. These applications must be EPA-registered and applied according to label directions.
Final clearance testing provides objective verification that the restoration has been successful and that conditions don’t support future microbial growth.
Long-term Moisture Management
Building envelope evaluation identifies potential water intrusion points that could cause future problems. Addressing these issues during restoration prevents repeat claims and protects your investment.
Monitoring systems can provide early warning of future moisture problems. Water leak detection systems and humidity monitoring can alert you to problems before they become major damage events.
Quality Control and Project Completion
Project completion requires verification that restoration goals have been achieved and documentation that supports claim finalization.
Final Moisture Verification
Comprehensive moisture testing confirms that all materials have returned to acceptable moisture levels. These readings should be compared to unaffected areas to demonstrate successful drying.
Material stability assessment ensures that restored materials will perform as intended. This is particularly important for hardwood floors and other materials that change dimensions with moisture content.
Clearance Documentation
Air quality verification may be required for Category 2 and 3 water damage situations. Professional testing provides objective confirmation that remediation has been successful.
Warranty provisions protect your investment and provide peace of mind that the restoration will perform as intended. Reputable restoration companies stand behind their work with comprehensive warranties.
Conclusion: The Path Forward
Effective water damage restoration requires technical expertise, proper equipment, and strategic thinking about insurance recovery. The techniques outlined in this guide represent decades of experience managing complex restoration projects and helping property owners navigate insurance claims successfully.
Remember that water damage restoration isn’t just about returning your property to its original condition—it’s about protecting your investment, ensuring your family’s health and safety, and maximizing your insurance recovery. The decisions made in the first few hours after water damage often determine the ultimate success of the entire project.
Whether you’re dealing with a minor leak or major flooding, understanding these principles will help you make informed decisions and achieve the best possible outcome. When in doubt, consult with certified restoration professionals who can provide expert guidance tailored to your specific situation.
The key to success lies in combining technical knowledge with strategic thinking, ensuring that every aspect of the restoration process supports both the physical recovery of your property and the financial recovery through your insurance claim.
Nikolay Zubyan is an IICRC Master Restorer and founder of Shield Public Adjusters, with over two decades of experience in water damage restoration and insurance claim advocacy. He specializes in complex water damage situations and has helped thousands of property owners achieve successful recovery from water damage incidents.